
Emulating Microsoft Multiplan spreadsheets in DOSBox-X
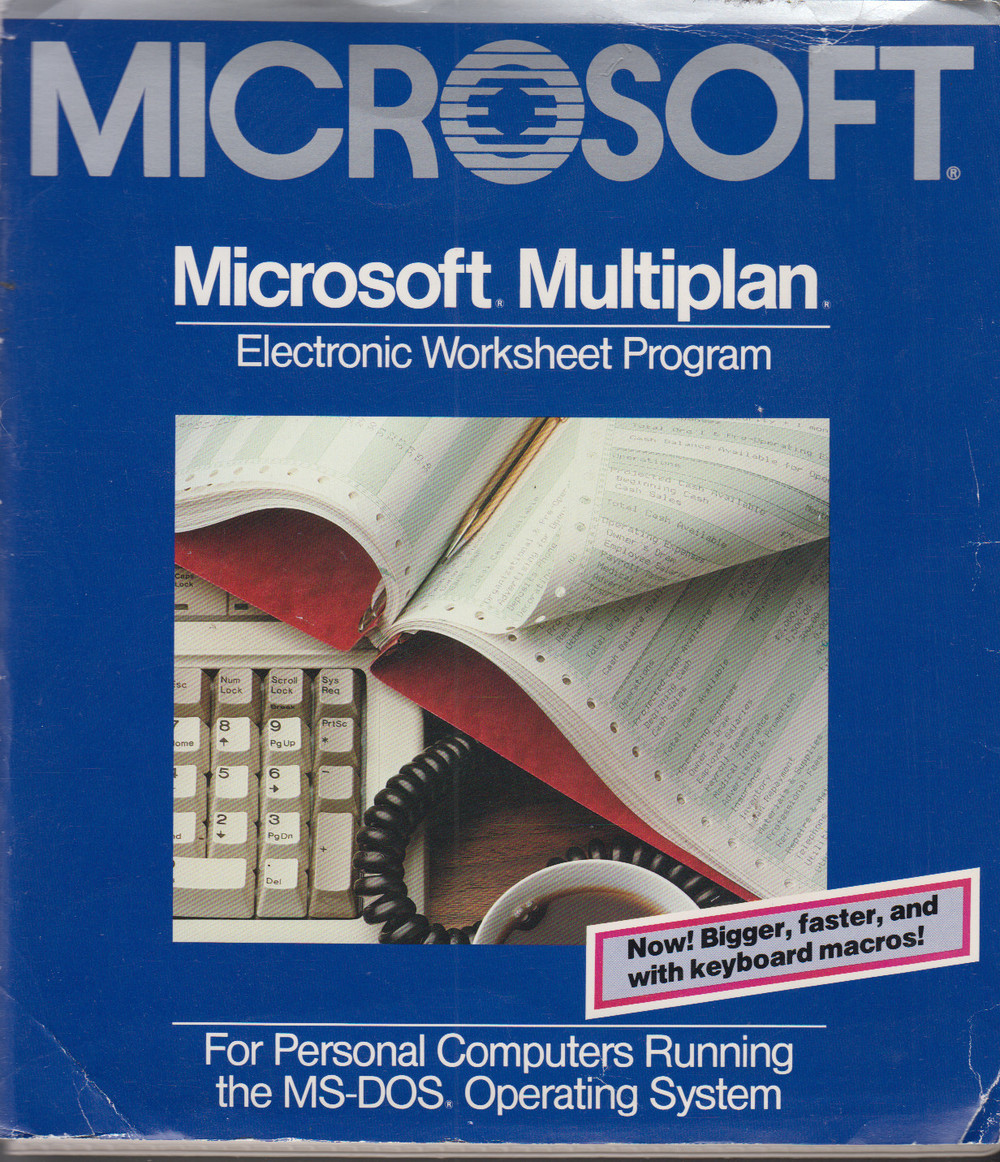
Last week I was contacted by Tristan Zondag from the Netherlands Institute for Sound and Vision for advice on files he had recovered from some old floppy disks as part of an ongoing digital archaeology project. Based on the files’ byte structure, Tristan suspected that these were Multiplan files. Multiplan is a spreadsheet application that was developed by Microsoft between 1982 and 1990.
However, the files weren’t recognised by DROID, and Tristan also wasn’t able to open them in the original Multiplan software, which is why he asked me to have a look at it. In response to this I did some tests where I ran old MS-DOS versions of the Multiplan software in DOSBox-X.
The main purpose of this post is to document how I made this work. This is probably of interest to others who are working with old Multiplan files. It might also serve as a useful introduction to emulating old MS-DOS software in DOSBox-X.
Since the files from Sound and Vision are subject to access restrictions, I’m not able to share them here. So, all examples in this post are based on publicly available Multiplan files. In the final sections I briefly explain how I used the emulation to make the data in those files accessible in modern software, and I also discuss some alternative options.
About the Multiplan formats
First of all it’s important that the version history of Multiplan and its file formats is quite convoluted. In addition to the changes to the format between successive versions of the software, there are also platform-specific differences between the formats used by the DOS, Macintosh and Xenix versions of Multiplan. This 2023 post by Tyler Thorsted gives a good overview, but most likely doesn’t even cover all variants.
Get the old Multiplan releases
The WinWorld abandonware site hosts downloads for Multiplan versions 1, 2, 3 and 4 for various platforms, as well as some scanned user manuals. A word of warning though: it seems that later versions of the software only offer limited support for earlier versions of the the format.
As I was dealing with one of the earlier Multiplan formats here, I used the Microsoft Multiplan 2.01 (5.25) (alt) for MS-DOS download, and most of what follows will cover this version and its associated peculiarities. Your mileage may vary for other versions and platforms.
Emulation platform: DOSBox-X
In order to run old MS-DOS software on a modern PC, we need some sort of emulation or virtualisation platform. For my initial tests I used an old virtual machine that I had set up ages ago in VirtualBox, using disk images of original MS-DOS and Windows 3.11 installation floppies. Since Tristan mentioned he had been using DOSBox-X, I then gave that a spin as well (I had never even used it before myself!). As it turned out, this worked even better than my VirtualBox setup, and it is also much simpler to set up and operate. So, at this point I decided to abandon my VirtualBox setup, and continue with DOSBox-X.
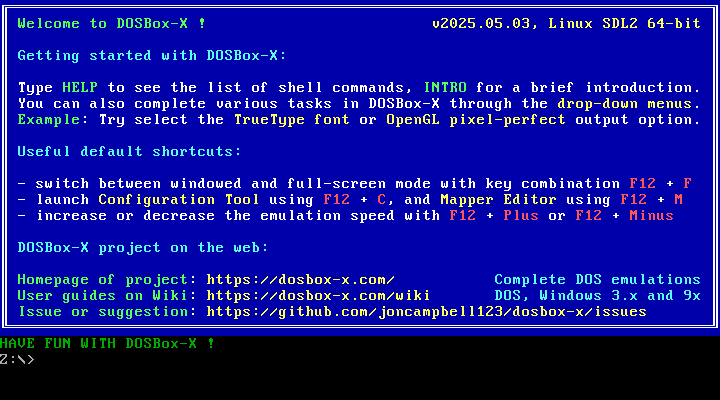
For my tests I used DOSBox-X v2025.05.03, Linux SDL2 64-bit on Linux Mint (Flatpak installer). After launching the software, it shows the following welcome screen:
Create work directory and mount as drive
At startup DOSBox-X only shows a Z: drive, which is an internal virtual device that contains the DOS environment. In order to install software and work with our own files, we first need to create an empty work directory on our host machine (in my case a Linux desktop machine), and mount that as a new drive in DOSBox-X.
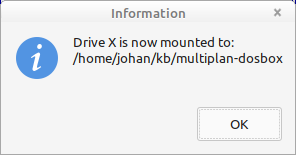
To mount this work directory to a drive, go to the “Drive” menu in DOSBox-X, pick a drive letter from the drop-down list (I used “X”), and select “Mount folder as hard drive”. Then navigate to the work directory you just created. In response, DOSBox-X shows this confirmation dialog:
We can set this newly created drive as the work directory in DOSBox-X using:
Z:\>X:
Then generate a directory listing with the “dir” command:
X:\>dir
This should result in something like this:
 Volume in drive X is X_DRIVE
 Volume Serial Number is 0000-1234
 Directory of X:\

.              <DIR>            05/15/2025  3:22p
..             <DIR>            05/15/2025  3:23p
    0 File(s)                 0 Bytes
    2 Dir(s)      2,013,265,920 Bytes free
Create Multiplan installation folder
Now create an installation folder for Multiplan using this command:
X:\>md mp_2
Mount Multiplan floppy image files
Unpack your downloaded 7z file with the Multiplan binaries. After unpacking, you’ll see a directory “Microsoft Multiplan 2.01 (5.25)”, which contains two image files:
- Install.img
- Program.img
These can be mounted as virtual floppy disks in DOSBox-X. To do so, go the the “Drive” menu again, pick the “A” drive, and select “Mount a disk or CD image file”. Then navigate to the folder with the Multiplan disk images, and select the “Install.img” file. This again brings up a confirmation dialog.
If all goes well, you can now access the image file like a regular floppy. For example, you can show a directory listing using:
X:\>dir A:
Result:
 Volume in drive A has no label
 Volume Serial Number is 0000-1234
 Directory of A:\

CONVERTD EXE             34,944 02/10/1986 12:00p
IBMSETUP COM             19,808 01/05/1987  4:24p
INSTALL  COM              6,934 02/10/1986 12:00p
INSTALL  DAT             48,145 02/10/1986 12:00p
INSTALL  MSG             14,876 02/10/1986 12:00p
INSTALL  OVL             37,498 02/10/1986 12:00p
INSTALL  SPC                128 02/10/1986 12:00p
PATCH21  EXE             12,040 02/10/1986 12:00p
    8 File(s)           174,373 Bytes
    0 Dir(s)            183,296 Bytes free
Copy files from virtual floppies
I was unable to install this version of Multiplan directly from the virtual floppies1. Instead, I managed to make things work by first copying all files from the virtual floppies to the installation folder in my work directory. To do this, first set the work directory to the Multiplan installation folder using:
X:\>cd mp_2
Then copy all files from the virtual floppy to this folder:
X:\MP_2>copy a:\*.* .
Result:
 CONVERTD.EXE
 IBMSETUP.COM
 INSTALL.COM
 INSTALL.DAT
 INSTALL.MSG
 INSTALL.OVL
 INSTALL.SPC
 PATCH21.EXE
   8 File(s) copied.
Now unmount the floppy (“Drive”/ “A”/”Unmount drive”), and mount the second image file (“Program.img”). Repeat the above command to copy all files from the second floppy to the “mp_2” folder. This adds another 17 files.
Install Multiplan
Install Multiplan by typing:
X:\MP_2>install
The installer will prompt you to enter a terminal type. Honestly I don’t know much about the differences between the myriad of choices here, but value “2” (Microsoft Windows) worked fine for me. After hitting the Return key the installation completes.
Installation of later MultiPlan versions
The installation procedure is more straighforward for later MultiPlan versions. For example, to install the final 4.20 release, you can simply mount the image file of the first installation floppy to the A: drive, and then run:
X:\>a:\setup
This launches an interactive installer that will install MultiPlan to a user-defined directory on your virtual hard drive. The installer prompts you to mount the other floppy images along the way.
Run Multiplan
To start Multiplan, simply type “mp” in the terminal2:
X:\MP_2>mp
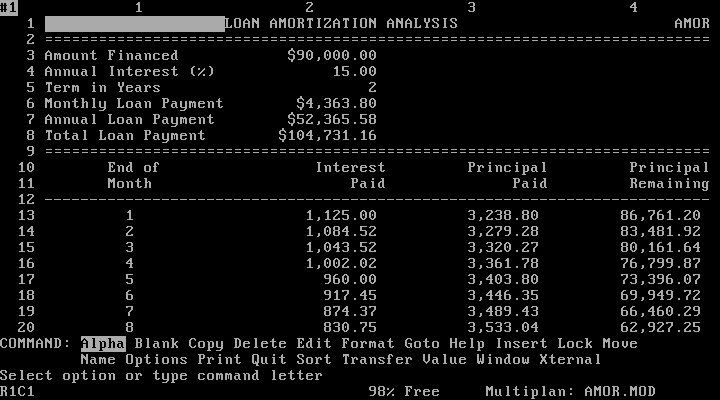
Now Multiplan launches with this gloriously oldschool interface:
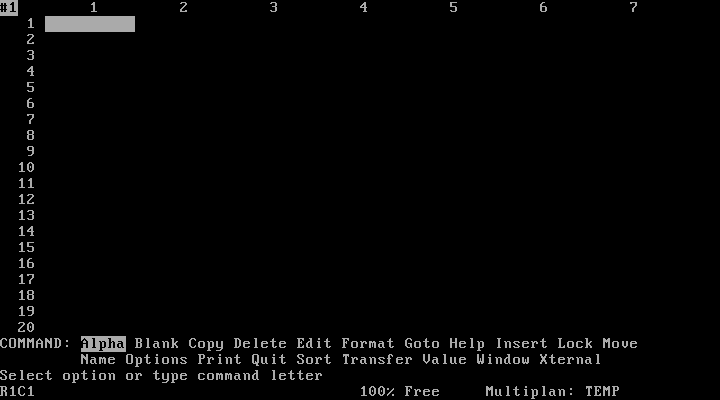
At the bottom of the screen you see two rows of commands. You can select a command by typing its first letter (e.g. “t” will activate the “Transfer” command), or alternatively you can use the Tab key to move between the commands.
Load a file
To load a file, type “t”, which activates the “Transfer” command:
Then type “l” (“Load”), and press one of the arrow keys on your keyboard. This results in a list of all files in the installation directory:
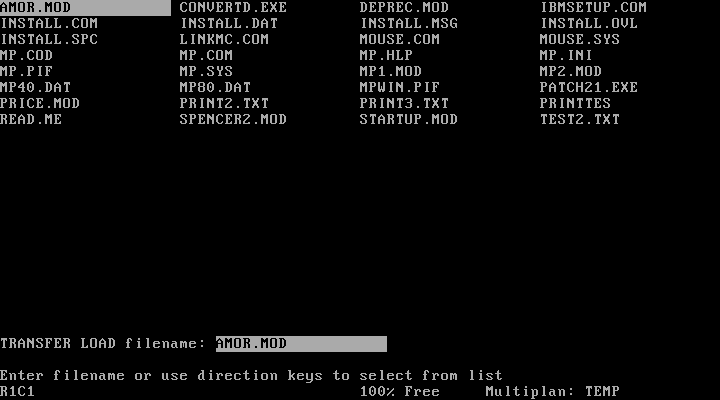
All files with a “.mod” file extension here are Multiplan spreadsheets, so let’s load the first one (“amor.mod”):
Load your own files
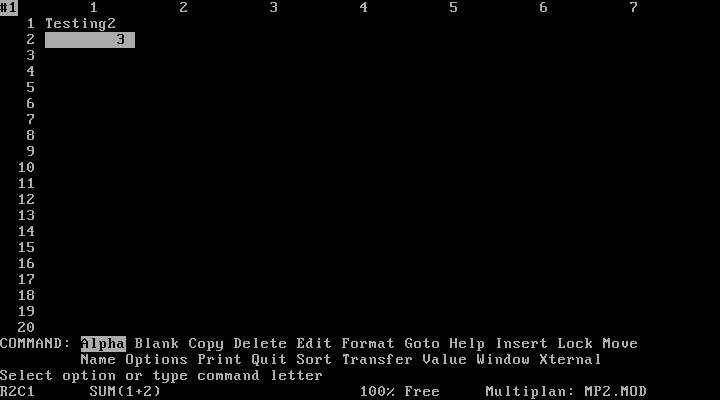
Confusingly, it seems that this Multiplan version doesn’t allow you to load files that are not in the installation directory3. So, to load your own files, you first need to copy them to the Multiplan installation directory. Then instruct DOSBox-X to rescan the drive (“Drive”/”X”/”Rescan drive”). Next time you launch the “Load” command, the new files will appear. As an example, below I loaded one of Tyler’s Multiplan 1 example files:
Using Multiplan data in modern software
When I started these tests, I expected that it would be quite difficult to make data in Multiplan files available in modern software. Most online resources I found on this suggested to use the original software to read any old Multiplan files, export the contents to SYLK format, and then import that SYLK file into a modern spreadsheet application. Since neither Microsoft Excel nor LibreOffice Calc were able to read the file Tristan sent me, I initially tried that route. However, as far as I can tell, Multiplan 2 cannot export spreadsheets to SYLK (or any other format for that matter!).
LibreOffice can read re-saved file
Unexpectedly, re-saving the file (which I suspect was originally created by one of the Multiplan 1.x releases) in Multiplan resulted in a version 2 file that I could open without problems in LibreOffice Calc. To my surprise, Calc has import support for the v1-3 DOS versions of the Multiplan format. It’s not entirely clear to me why the v1 source file couldn’t be opened, but perhaps this was simply some unsupported variant of the format. For such cases, re-saving the file4 (while of course keeping a copy of the original!) in Multiplan provides a useful way to make the data available in LibreOffice Calc. In turn, Calc can then be used to migrate the data to some modern format5.
Export data using the Print command
Multiplan’s “Print” command (“p”) provides another (but less sophisticated) way to export data. In the simplest case we can use the print to file (“f”) command, which creates a plain text dump:
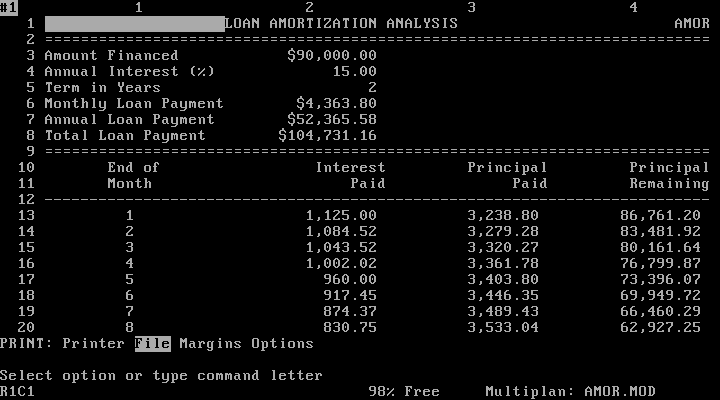
For best results you might want to experiment with the “Margins” settings (“m”), as the default settings often won’t preserve the column structure.
It’s also possible to print to a Postscript file. In order to make this work, you first need to check that your DOSBox-X configuration file contains the following settings6:
[parallel]
parallel1=printer

[printer]
printer=true
printoutput=ps
multipage=true
docpath=~/kb/multiplan-dosbox/export
timeout=1000
On my Linux Mint machine (on which I installed the Flatpak version of DOSBox-X) the configuration file is located at7:
~/.var/app/com.dosbox_x.DOSBox-X/config/dosbox-x
You need to close and re-start DOSBox-X for any changes in the configuration file to take effect.
Now, if you print to “Printer”, Multiplan creates a Postscript file in the directory that is defined by the “docpath” configuration variable. You can easily convert this to PDF using Ghostscript’s “ps2pdf” tool:
ps2pdf doc1.ps
In my tests I noticed that printing to Postscript resulted in Postscript files where each page is rendered as a bitmapped image, which makes them of limited use. It’s not clear to me if this is a limitation of DOSBox-X, or something that can be resolved with some further configuration tweaks.
Final remarks
The Multiplan file format provides another nice example of David Rosenthal’s 2009 assertion:
Clearly, formats with open source renderers are, for all practical purposes, immune from format obsolescence.
For the specific case of Tristan’s file, the open source renderer did need a little help from the original software though. It also highlights the importance of open source software such as LibreOffice for keeping data in such legacy formats usable.
Acknowledgements
Thanks are due to Tristan Zondag (the Netherlands Institute for Sound and Vision) for the various useful suggestions in our e-mail exchange about the Multiplan files.
Further resources
-
The software was meant to be run directly from a set of floppies, without an actual harddisk installation. This was not uncommon for early to mid ’80s software. ↩
-
For some reason this only seems to work if the command is launched from the installation directory (e.g. typing the full path from some other directory did not work for me). ↩
-
According to the documentation it should be possible to configure a some other data location, but I wasn’t able to make this work. ↩
-
To re-save a file, type “t” to activate the “Transfer” command, and then “s” to save. ↩
-
LibreOffice also allows you to do this from the command line, which is useful for bulk processing. See: https://help.libreoffice.org/latest/he/text/shared/guide/convertfilters.html. ↩
-
This folder also contains a “capture” directory, which is where DOSBox-X stores any screenshots made with “Take screenshot” (F12+P) from the “Capture” menu. ↩
-
spreadsheets
- Writerperfect conversion tools for legacy file formats
- Quattro Pro for DOS revisited: an obsolete format no more?
- Emulating Microsoft Multiplan spreadsheets in DOSBox-X
- On The Significant Properties of Spreadsheets
- PDF/A as a preferred, sustainable format for spreadsheets?
- Quattro Pro for DOS: an obsolete format at last?

Comments